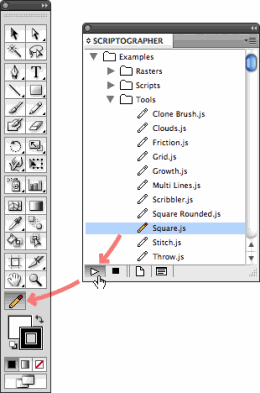
Scriptographer comes with a selection of example scripts preinstalled. These are intended to be starting points for first trials on the way to later writing your own scripts. In Scriptographer, scripts are executed by selecting the script in the Scriptographer palette and then pressing the play button underneath. Double-clicking scripts opens them for editing in an external editor.
If you are on Windows and receive a Windows Script Host Error when editing, find out about solutions in the Editing Scripts tutorial.
The example scripts are organised in three categories, differentiated by their functionality.
Mouse Tools
The Tools folder contains mouse tool scripts which are characterised by their special tool icon, a white pen. When such a script is executed, Scriptographer links it with a reserved tool button at the end of the the toolbar, and both the script's icon and the toolbar button switch from a white pen to a coloured pen, to indicate the currently active script. After the link has been established, the tool button can be used to work with the tool until another tool script is executed and becomes the currently active tool.

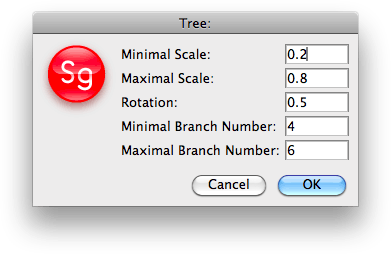
Many tools scripts define an option dialog box which allows the modification of parameters. This window appears after a double-click on the tool button in the toolbar.

This screen-cast shows a selection of mouse tools in action (please note that it was shot with a previous version of Scriptographer where the tool script mechanism was different).
Raster Scripts
In the Rasters folder, you find the scripts that you can execute on raster image objects. To execute a raster script, you need to first select a raster object in your Illustrator document and another graphic object, depending on the script. Then press the play button in the Scriptographer palette window.
Here a screen cast that shows how to use some of the raster scripts.
General Scripts
The Scripts folder contains scripts that are mostly non-interactive and execute a task of some sort.